Monday, October 31, 2011

To Find a Water line!


At this point, I had four coats of epoxy on the entire hull. It was time to finish off with the varnish and or paint depending on the area. I wanted to put the PMD in the water and find the dynamic water line. What I mean is that plans are nice, but how does this boat handle and where do I plan to have the paint start, and where should the bottom paint be. I was planning to keep the PMD in the water in the same spot as my 8' zodiac used to be. I planned to remove the bow, put it in the hull and have a cover made to keep the rain out. This first adventure helped alter my plans. 


Birth of a PMD! First look at sunshine. Having fit through the door all the neighbors bet against, the PMD was on its way to some cold water on a sunny day in May. I hope you like the expense I went to for the car rack. I got two 2X4s and clamped them onto the cars luggage rack. I spent almost $15. See, I am becoming a sail boater already!!


The launch! Seems kind or un-ceremonious. No bottle of campaign or anything. This is a research project and not really a boating event. Will it float?


Yes it floats. You may notice what I wondered about. The PMD seems to be quite sensitive to the weight of the motor. This surprised me. It should not have. The PMD only weighs 90 pounds, the motor weighs 55 lbs. thanks to the new 4 stroke design. 

This is a 6 hp motor, The 4, 5 and 6 hp all weigh the same but do not cost the same. It is interesting that they only change the timing and carb to get the different hp. I already had this motor. If I would choose one now, I would get a 3 or 4 hp used two stroke. Lighter and plenty of power. 


I will now answer the questions you may have. How did the PMD handle with that large engine, Did you flip it over, Did you get arrested? did it break off the transom? Did the world end?  No it was just fine. Ideally you need two people when motoring, even with a lighter engine. This will balance the boat. This boat handles better with a little weight in it! 


If you are going to motor by yourself, you will need an extension on the motor handle so you can operate it from the middle seat or the floor. The boat is nicely balanced with my weight in the middle. In trials, I found the PMD will plane out under full power, if I sit forward and it is calm. It is not a planning hull nor is it a full displacement hull . It is a pram! I found a sweet spot of about one half throttle that uses very little gas and glides thru the water.

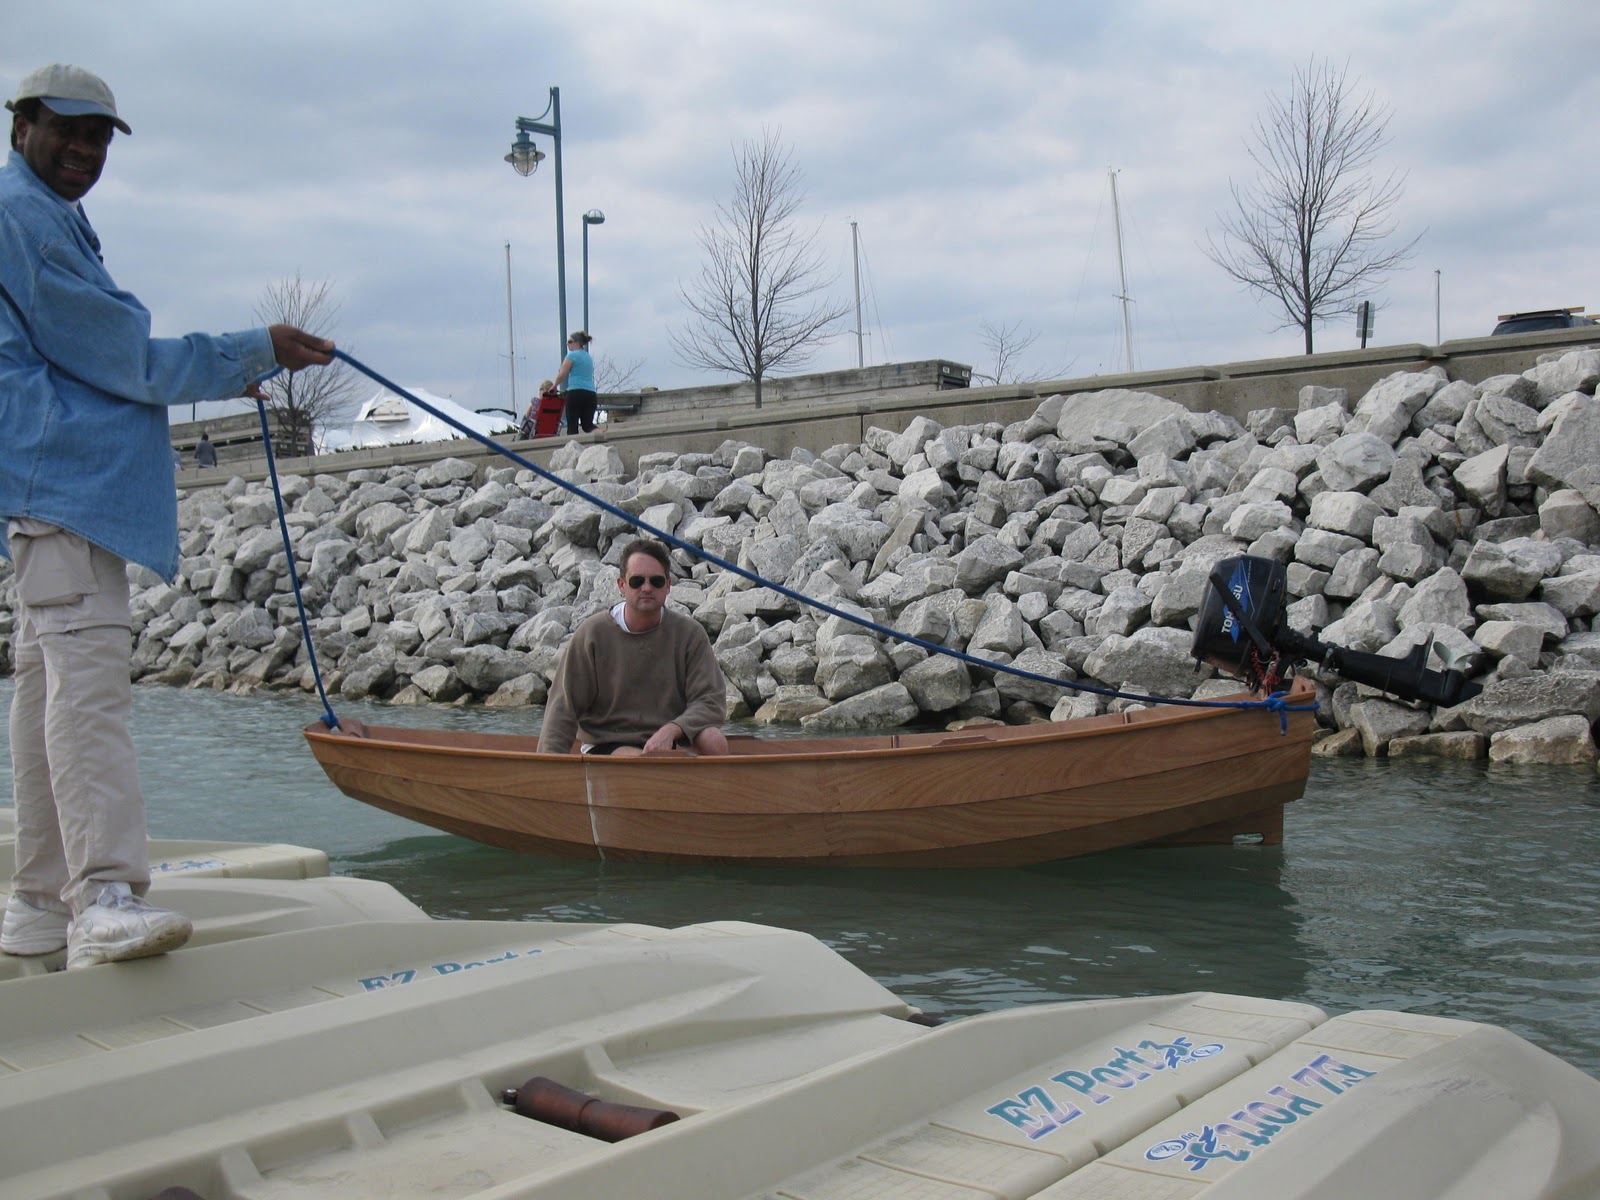
You can see the stern lifting when my weight is forward even with the engine. 


The PMD is very light and has minimal displacement. The water line is on the fourth plank with no weight on board!


This is the best place to sail the PMD. I am 6' tall and weigh 200lbs. I weigh more that the fully sail rigged PMD does. Where you sit has a huge influence on the trim of the PMD.  It actually sails better with 2 people. More displacement thus more waterline, wetted surface and hull speed.


The PMD is an excellent row boat. With one person you sit in the middle an use the rear oarlocks, with 2 people, the passenger sits in the rear seat while the rower sits in the forward seat and uses the forward oarlocks. This provides good trim and balance. This boat is so light in the water, it just glides. It really goes fast when you row and you can cover a great distance with little effort.

The first time I put the PMD in gear with the motor, I was amazed how fast it went at idle speed, My zodiac with the same engine at idle was much slower. Easier to push a slender shapely hull than a square shape!


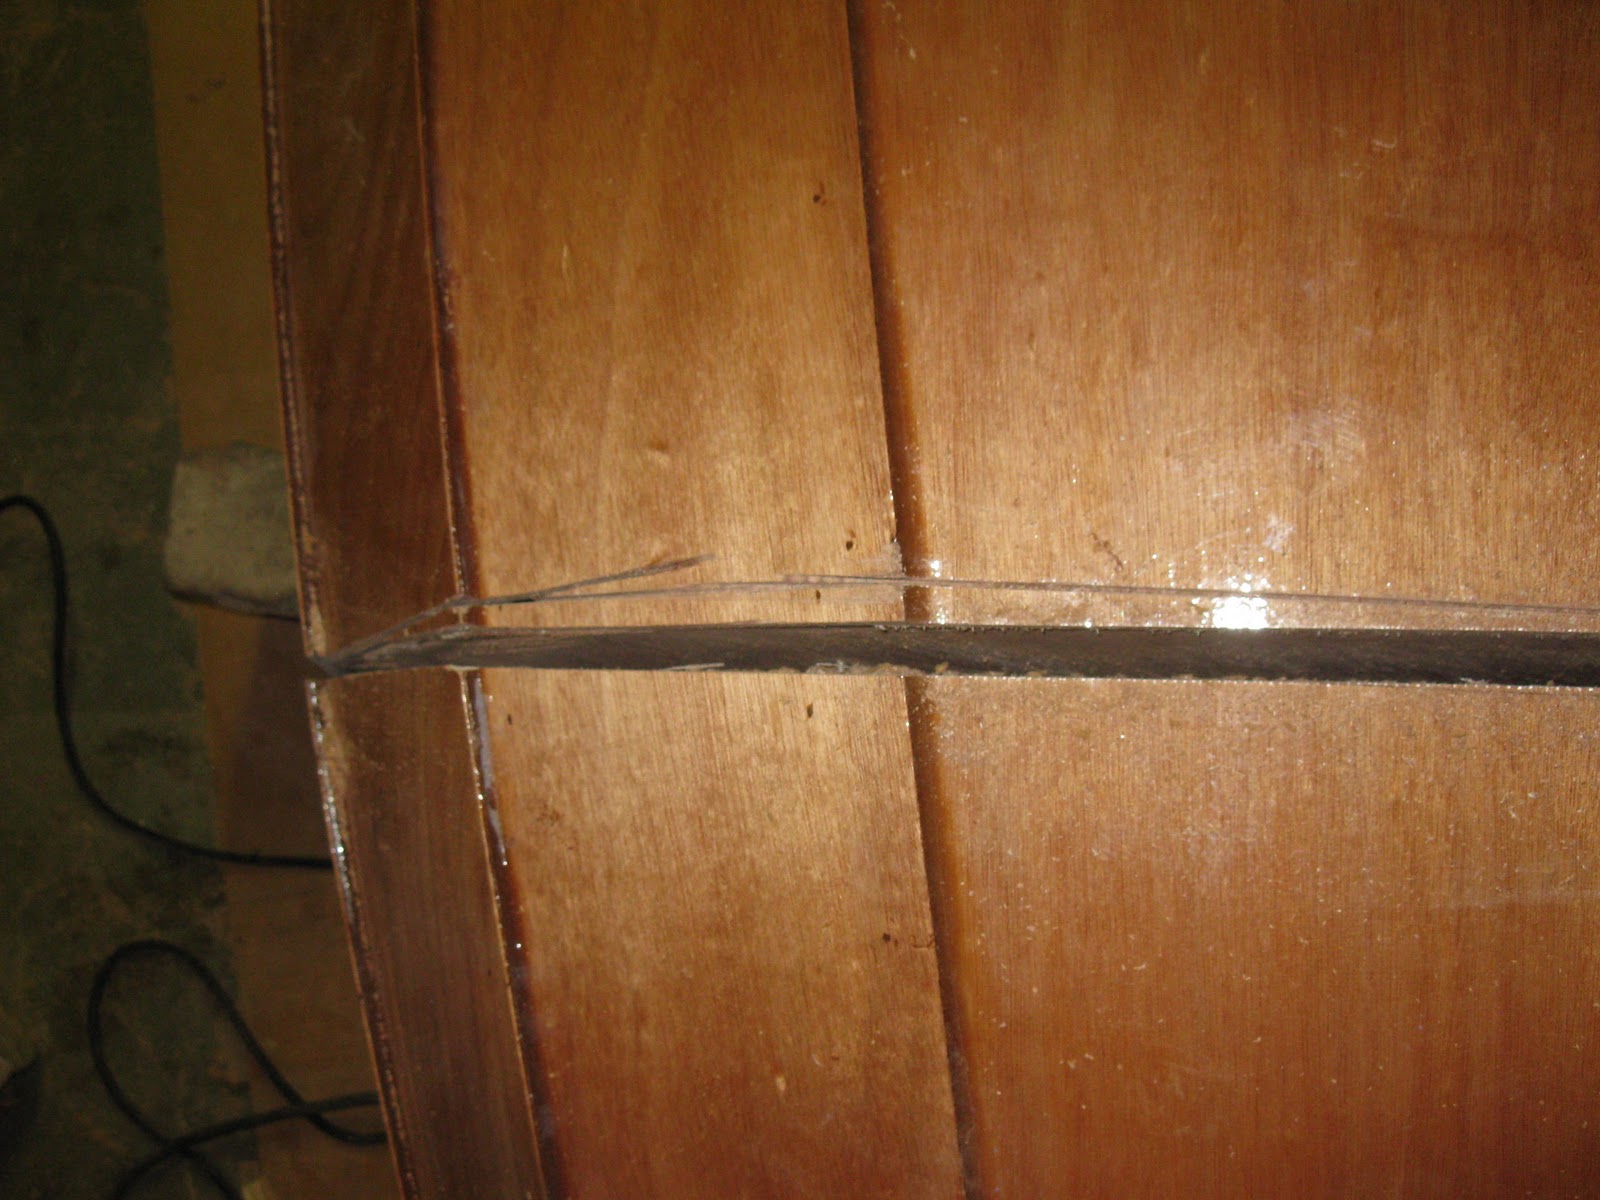
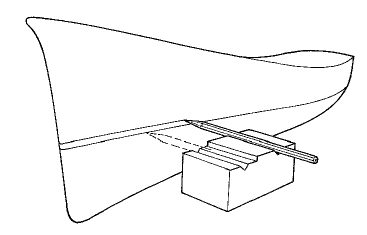
I took a lot of pictures and now have a good idea of how I want to paint the PMD. Removing the bow is not a thing I think I will want to do every weekend. I may need a full length cover. Make sure and "drill fill drill" (drill oversize hole, fill entire hole with epoxy, then drill correct size hole through the epoxy.) the holes for the studs that hold on the bow, it is easy for the threads on the bolts to damage the plywood. Epoxy can take the punishment and it is not so easy to line up the bolts! 

Time to go back to the shop and finish this boat!

With one flick of his mighty tale he cut the dinghy in two!


The whalers were locked in a life and death struggle and lost, I cut my dinghy in two on purpose!  In some ways, my chop job looked like a whale had smashed it. This is the part of the build where I upon the instructions took a long saw and cut in between the two forward bulkheads and separated the two parts of the Take apart passagemaker dinghy.

NOTE: you may notice there is a 6 month gap in this blog. It is called boating season. during boating season there is no time to write blogs and barely enough time to work. It is now Oct 31, and the mother ship and the PMD come out of the water this week. I put at least 40 hours, mostly sailing. on the PMD. I also motored and rowed almost every day. The PMD was quite a hit and the envy of all the sailboaters who cannot understand how a powerboater can build a sailboat.


Surely one cannot be both a sailboater and an powerboater, why thats like being a republican and a democrat at the same time! impossiable! They would motor past in their sailboats to the lake and I would hear them say, "You know he built that boat himself, He should sell his powerboat and get a sailboat!" They would stare at it and wonder how it was built. Some wondered how old it was!  haha. Back to the construction story:

If I could have a "do over" for any part in the build, this would be it. I did it all by myself, a mistake. I had never seen this done before and I was in a bit of a hurry and overconfident in my abilities. In the end, one can hardly tell I messed it up but I did cost myself a few hours of repair work. I would say almost anything can be repaired in this process so don't worry if you screw it up now ant then, it gives the boat some character.


The mistake happened almost at the beginning. The saw did not want to follow the piece of cardboard build in between the two bulkheads. The saw slipped in between the cardboard and the bulkhead and started cutting the bulkhead from the first draw. This led me to think that the resistance was normal. You are cutting the outside planks and the rub rail but you need to keep the saw straight in the middle of the cardboard. 
I got off track several times. Stopped and made corrections. Finally, I found the correct path for the saw. Now, I could do it much better, but with out watching it one time, its a little hard. If some one would put a you tube video of this that would be great for others.


I tried to snap a chalk line to help me to visualize the path for the saw and I started cutting from the bottom of the boat. Both were mistakes. I also cut it on the floor, not on the horses like the book says. You need at least another person and to do it on the horses, cut from the inside of the boat and let the bulkheads guide the saw.
Finally the agony was over, and the boat was in tow pieces. I was actually wet with sweat all over. Not the work but the pressure of screwing up the whole project. Now I know you cant screw up the whole project. Almost anything can be fixed.

But look at the damage!!!


I did not take many pics of the repair process but basically, I just used epoxy in layers, sanding and more epoxy until the surface was smooth and then I painted. Planned anyway!


Above is the raw patch and below is the finished work. 


The bow was the same, layers of epoxy, then sanding, then paint. 


I filled all the saw marks with epoxy and it never leaked or really could be detected except for one area in the inside of the bow bulkhead. No one has noticed that patch yet! Remenber as you build your PMD, 99%  of the flaws, only you will know where they are. Or maybe another PMD builder!