Sunday, November 20, 2011

The Summer!


Becoming a Sailboat!


Here are some rigging comments and a little about how she handles as a sailboat. 


To get the location of the holes for the sail lacing on the gunter yard, I laid the sail out and matched the sail holes to the yard and marked the locations. I drilled the holes in the yard and laced the sail on!


I followed many of the sail rigging suggestions from http://pmdbuilders.net This is my current out haul rig. The cleat is small and hard to adjust when under a load. This winter I hope to change to a cam or cam cleat to make adjustments for light or heavy air easier. 


The main sheet block system I used last year was an old Hobie cat block and cam cleat. It worked but needs a better system such as the Harken 205 Cam Base with a small block, or the 241 with a fair lead and no block. I would mount this on a removable block of wood bolted to the thwart much as the mast step is attached.


Last year the jib sheets got hung up in the Jib and Main halyard cleats a lot. I moved them up but it did not help. Also it is hard to stand up, move forward and raise or lower the main or tighten the Jib halyard. The Jib  halyard also keeps the tension on the mast as I have a roller furler (Harken 434) and a flying jib.

This needs adjustment sometimes when underway. I am thinking about bringing the lines back to the thwart or the front seat using blocks and cam cleats. This will allow adjustment from the helm on the fly. I use 1/4 halyards so the Harken micro 243 (installed on mast step plate at base of mast 90 degree turn to cheek block) , Harken cheek block 233 ( turns line 90 degrees to run to cam cleat on deck facing helm) and the micro cam cleat 471 should do the trick.


I can easily adjust the rake of the mast using the SS shroud adjusters. I like them better than the rope ones suggested in the manual. I will replace the screw shackles with a snap shackles to ease stepping the mast. The screws are too hard to handle with one hand while the other is keeping the mast from falling down!


Here she is all rigged and ready to sail for the first time. The mother ship is in the background. 


Here she is underway. As you can see I am sitting on the floor behind the thwart. I weigh 200 lbs and the trim is too far astern. This is slowing the boat down. I am not sure how to solve this as I am almost all the way forward as I can go without sitting on the thwart. If you look at the line drawing of the PMD in the manual, I am in the same place as the little man in the drawing. The PMD in the drawing looks trimmed too far astern as well. Now if you have 2 people the trim is better as below:
Passagemaker Standard


My current project is a small electric motor, I am too lazy to row out into the lake from our marina. It can also be dangerous to row with traffic and rocks when the wind is up. Sailing out to the lake on the jib is an option as above, but actually we are not allowed to sail in the marina. With an electric motor, at 90 lbs you don’t need much thrust and I have thought about modifying a trolling motor to go under the PMD like an inboard. It would look really cool gliding around the harbor without an apparent source of propulsion. Then you would use the rudder for steerage and not have the problem of rudder vs. motor in the center of the transom. The bullet shaped motor placed in the center should not take too much away from sail performance as the PMD is not a racer. I am also thinking about a spinnaker from a old Mirror class dinghy to offset the drag running with the wind. If anyone has any experience with electric motors or has tried a spinnaker, on the PMD let me know. 

Now it's a year after finishing the PMD and now I have one season of sailing experience. In light wind you need to get forward and that is hard with the middle seat. I tried sailing in two fun races at our yacht club. They race Buccaneer 18 class dinghies and let me tag along. 


They have a planning hull design and are really fast, the PMD does not and is not as fast. They were flying spinnakers coming home on the downwind run as I was still tacking up wind! The broad shape of the PMD bow prevents slicing through the waves and limits speed in 2-3 ft chop. Traveling through the water gives stability but of course does not let you get up on top of the waves as a planning hull does. In light air this is no matter and the PMD has great light air performance. 


PMD Sailing performance:

In heavy air, the PMD is a stable and solid and dry boat. I have sailed several times in 20K+ winds. The only problem was when I bent the mast cranking the main halyard too far down. My fault, not the design. Yes you can hike out on rare occasions and I have had to move all the way back and sit almost at the transom with my butt hanging overboard to keep it level. You need to be nimble and ready to shift your weight inboard quickly when a wave slows speed or the gust you are riding peters out. I must say, in open water with 1-3 ft chop and 10-15K wind, upwind performance is somewhat limited on the PMD, at least when you sit on the floor behind the middle seat. Re reading earlier comments, I will try moving forward and see if I can beat closer to the wind by getting the tramsom up a little. The problem is by that time you need to move outboard and back to keep her level. The PMD was not designed for racing, the mirror class was. I would love to hear any suggestions to improve up wind ability. 

I bought "The Mirror Book". It is a great "How to sail a dinghy" book. The PMD is very close in size, so I found this a helpful guide. The major difference between a Mirror and a PMD is the hull design, planning vs. semi displacement Here is the link for the book:


I would love to try a spinnaker, if anything to learn how to use one. The Mirror class uses a symmetrical spinnaker for racing. For ease of use and as the PMD is more of a cruiser, I am leaning towards an asymmetrical spinnaker. If anyone has done this already, please let me know. Sail makers already have patterns for the Mirror and I was simply going to give that a try. I am also looking on e-bay for a usedMirror spinnaker as well. I would love to learn from all your sailing experiences. please post your ideas! 


Here is where my dinghy lives when I am on the boat, When I leave I roll it up on the swim platform to keep it dry and out of the sun. I want to buy a cover this winter as well. 


I have a 6 hp 55lb 4 stroke motor, from another dinghy, that I have used. I first beefed up the transom. The modified PMD handles the motor but it is really too much weight and hp. The PMD will plane at full throttle if you sit in the middle with a tiller extension, but it is not happy. The hull design is not a planning hull. It is not quite a full displacement hull either but leans that way. My motor on the new Cocktail Class Racer from CLC would be great as that hull is a planning hull. 

The Finish Line

The Finish work takes almost as long as the construction. Knowing this up front helped me to tolerate the process a little better. I put 4 coats of epoxy over everything sanding each coat. As I have the wisdom of hindsight, I would have drilled as many of the needed holes at the start of the finish process. This way I could drill them oversize fill them with epoxy now and drill them to the correct size when installing the hardware later. This "drill fill drill" will prevent moisture from infiltrating the wood and turning black. In a future post I will  document the repair work I will need to do to fix the places on my PMD that discolored due to moisture entering the wood. "Drill fill drill" will increase buld time but save repair time. My advice is to do it up front. 

Sanding: I have noted that many of the PMD builders in my opinion, sand too much! The goal is to skuff up the surface and knock down the high spots NOT to take the entire previous coat off!! You don't have to take it down to the lowest point, the next coat will fill that in! 

You can get a 5" random orbital sander into 95% of the PMD. Keep it moving and use high quality sandpaper changing disks often. The rest can be reached with a multi tool and a sanding sponge. I could sand the entire boat in 45 min easily. If you are spending more time that that you are taking too much off, in my opinion. Sand, vacume, wipe down with denatured alcohol and apply the next coat. A 3-4 hour process. I did 4 coats in a week, at night, after work. 


I decided to paint the sole. Paint is much easier to maintain in this high traffic area. The sun also effects the sole the most. A light sanding and a new coat every other year should be enough to keep a great look.


Just skuff up the surface and take off the tops of any bubbles. I used the roller and tip method using Interlux Brightside. I applied one coat of interlux pre coat primer first. This was primarily to help smooth the surface to help the paint shine. It works great. The roller spreads out the paint yet leaves bubbles, the brush pops the bubbles. Make sure to keep the paint wet. It can dry fast. The mirror shine will appear only if the brush is moving easily through the paint. If you feel it drag, it has dried out. Add thinner to help keep the "wet " longer.

I took off a little too much in a few places. I did two top coats and felt it was enough. I planned a third but was happy at two.


Marking the waterline was hard as I was in a small room. I tried to use a laser to make the line but I could not get the machine far enough away from the boat to mark the entire length of the hull. If I had a bigger room I would have been able to get a laser line in the perfect place. In the end I eyeballed it somewhat. The result was good.


I planned to keep the PMD in the water in my slip next to my big boat. So I needed to apply bottom paint. I used teflon VC 17. Two coats. It was easy to apply and needed no primer.


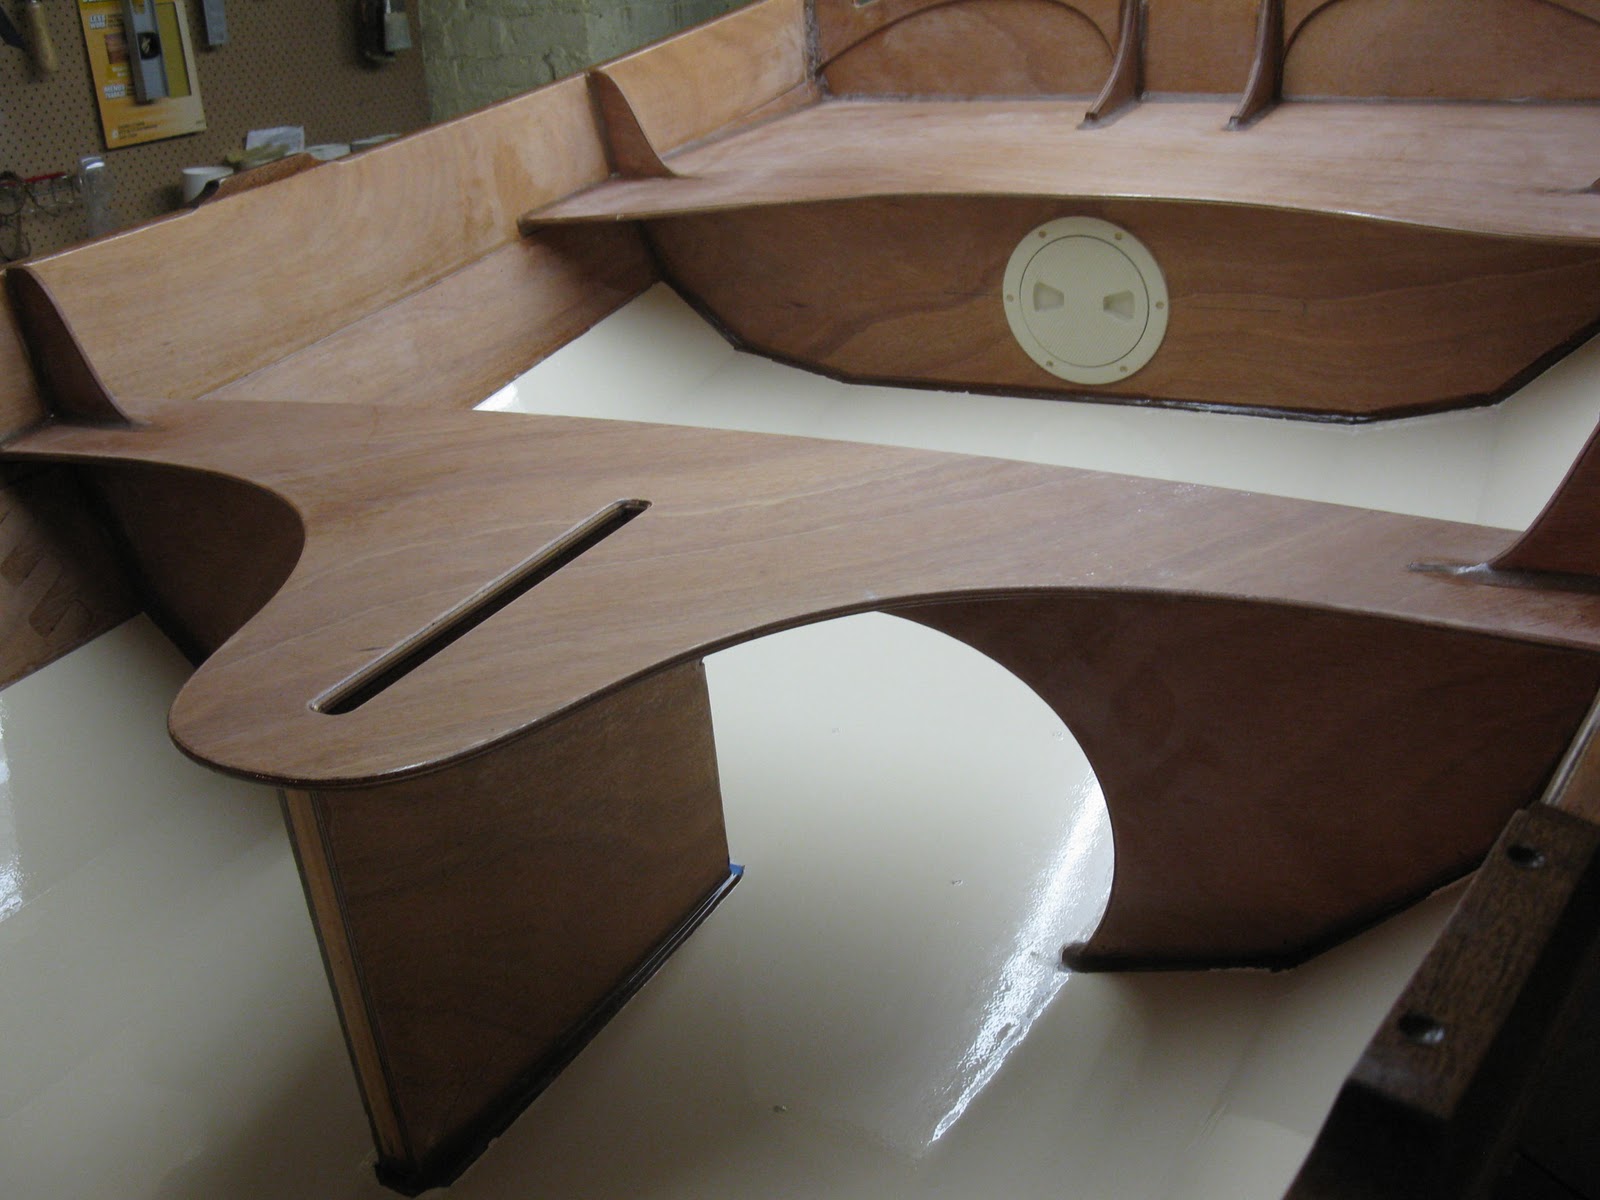
I over sized the rudder and dagger board using 18mm Okume ply I had in stock. If you are careful you can get a nice uniform stripe when you feather the edges. I added teak and holly trim to the handle.


Here are the material I used for the finish work. I was happy with each one. I like the varnish, why scrimp now and better not to have to do this too often in the future. make sure to use a high UV rating and put at least 4 coats of varnish on. Sucks but otherwise you will just have to do it again next year. The idea is to to a light sand and add one coat each year for maintenance. You may want to paint more of the surface as it is easier to maintain needing only one coat every other year.


Part of having a PMD is the wow factor. Yes it is more like a piece of furniture than a rubber dinghy but unless you have a busty blonde in your rubber dinghy, you will not get all the looks and comments that  you will with a PMD!! Boats would stop and turn around to get a better look. I would hear them say" that guy built that himself......" or I" I wonder how old that dinghy is" You can tell them anything, its fun to make it up!


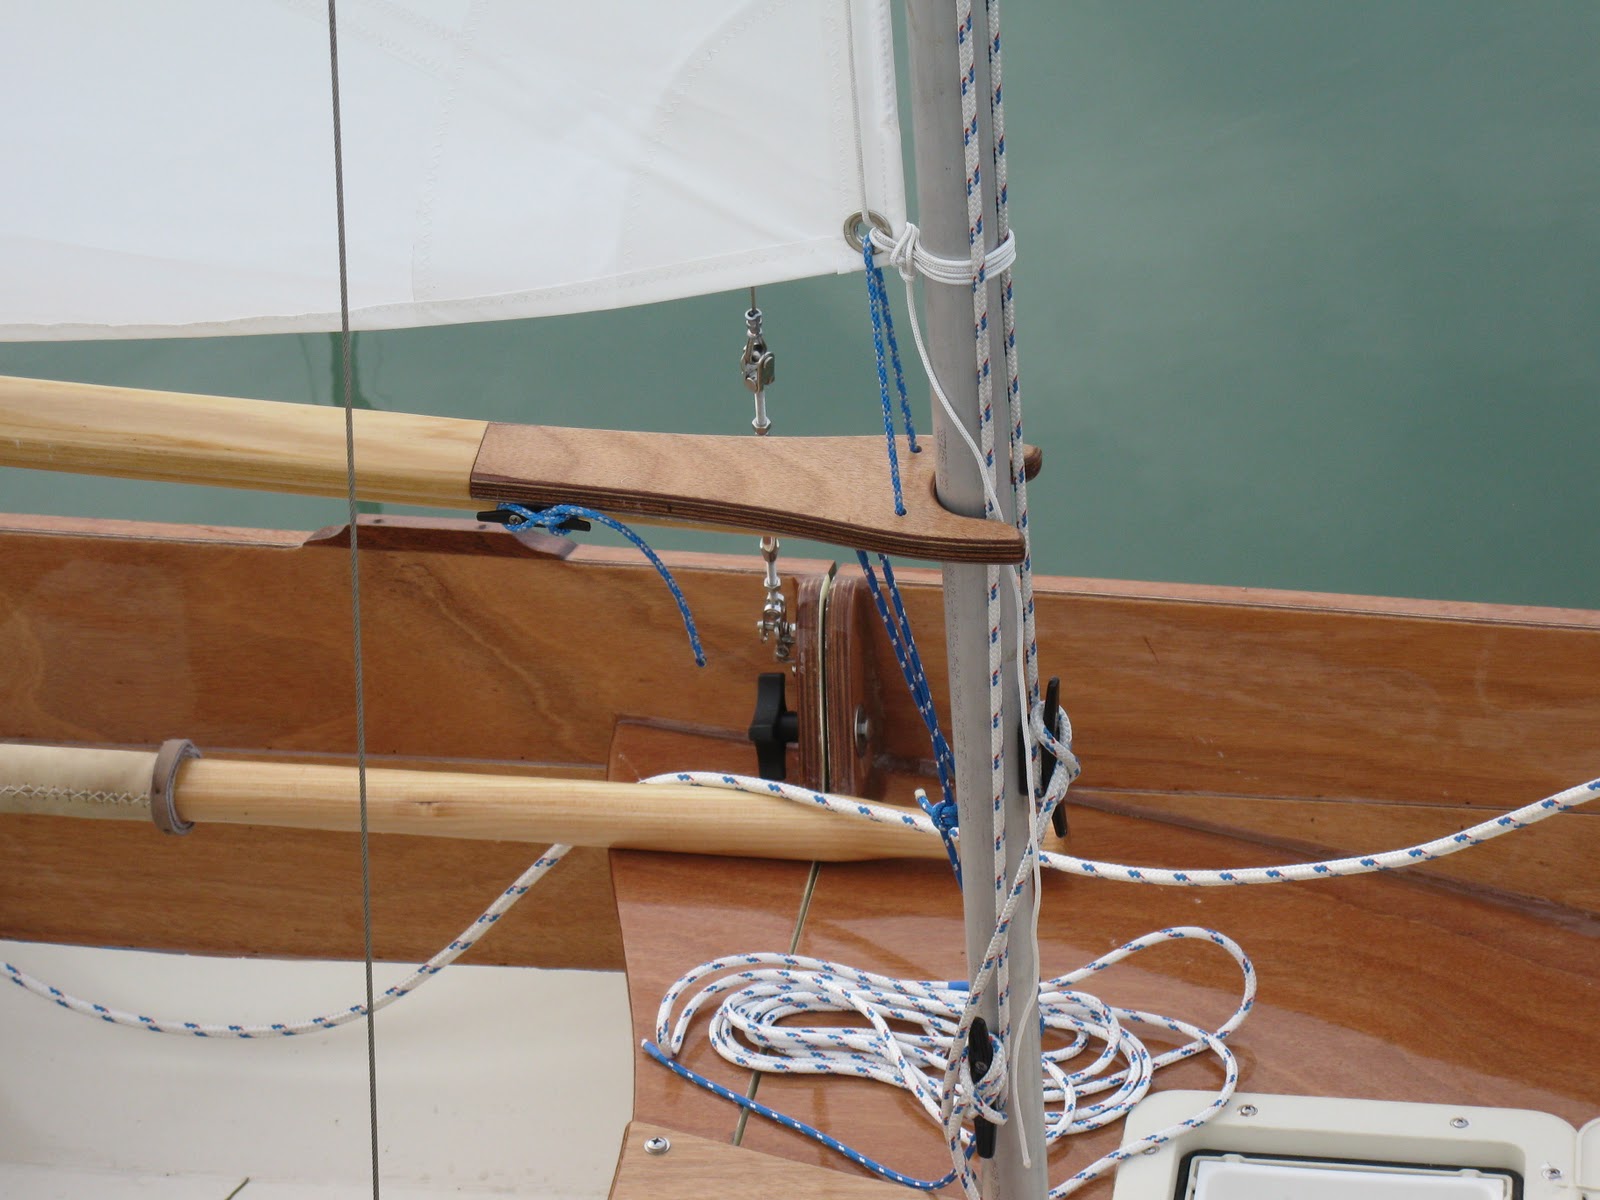
The oars came in from CLC. Nicely finished. I sewed the leathers on but did not like the leather strips that you nail into the oars to keep the oarlocks in place. They came off early in the season. I will have to figure another strategy this winter. 


OK time to make the sail rig! this is the fun part, almost ready to go!!